Tutorial: D.I.Y Chrysanthemum Mirror

|
Watch this simple chrysanthemum mirrors tutorial, simply using plastic spoons. Chrysanthemum mirrors are so textured and are a great item for bedroom décor, plus it will save you heaps of money to make your own at home. Try creating your own pattern such as Ombre using the colours you prefer and get creative with this fantastic home-made piece of art.
What You'll Need for this D.I.Y: Mirror Large cardboard Measuring tape Plastic spoons Scissors and Exacto knife Hot glue gun Paint/Spray paint Picture hook |
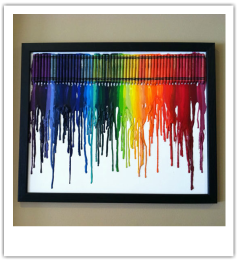
Melted Crayon Art
What you will need for this D.I.Y:
Crayons
Canvas
Blow-dryer
Craft glue
|
1. Glue crayons onto the canvas, you can decide to make an order or stick them without one, It’s your choice
|

|
|
2.Get a blow-dryer and place it about 3-4 cm in front of the crayon. It will soon melt. Take it off quickly to make sure
the crayon doesn't come off the canvas. That's all! It's super easy and a really fun activity. Remember that you can try other techniques and switch the colours around to create different colour combinations. You can also try rearranging the crayons into a different shape to make it more fun. |

|
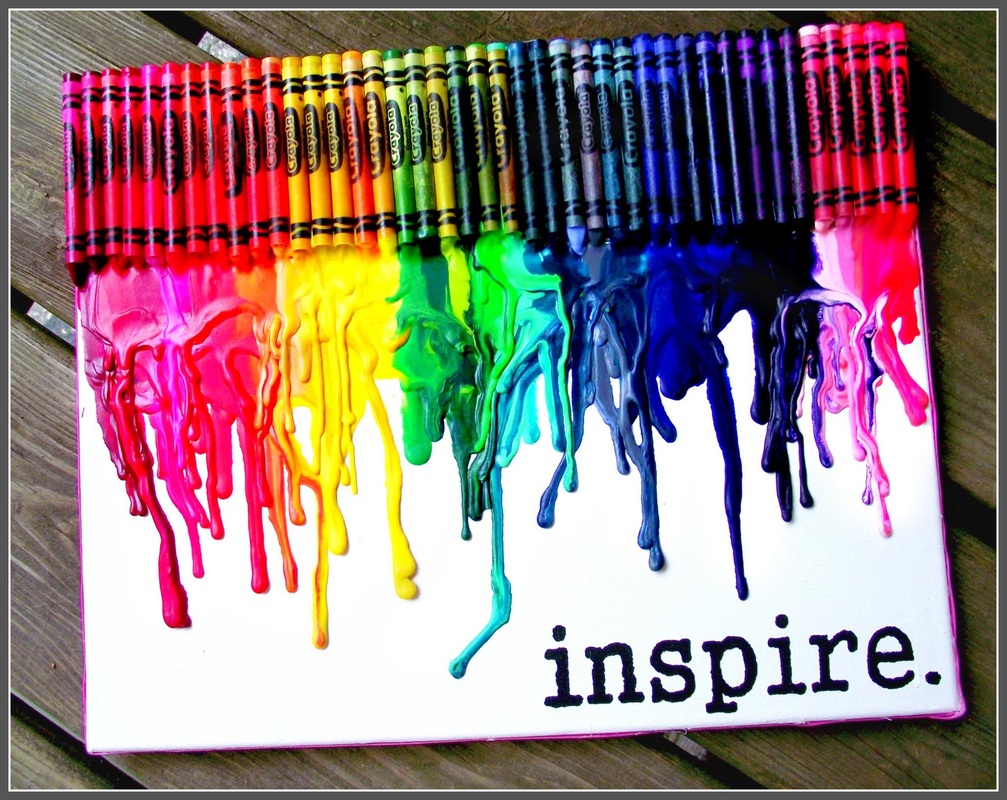
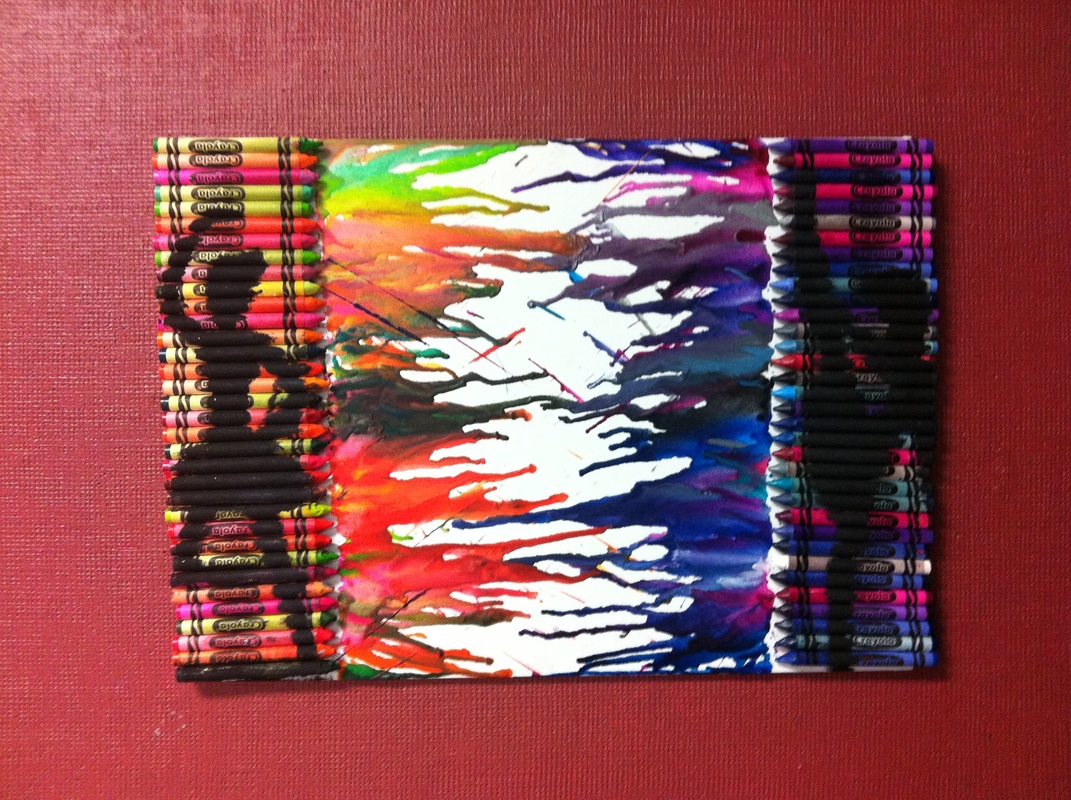
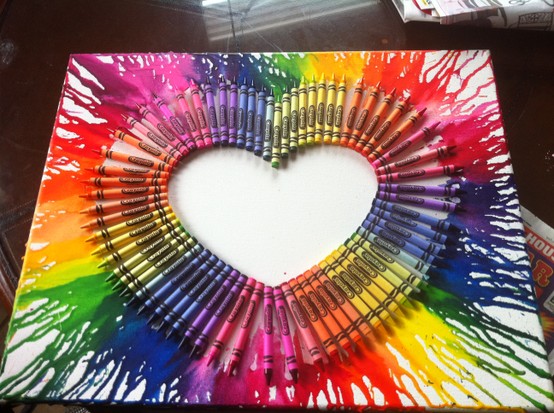
Here's some pictures of some fantastic crayon artworks inspiration
|
|
|
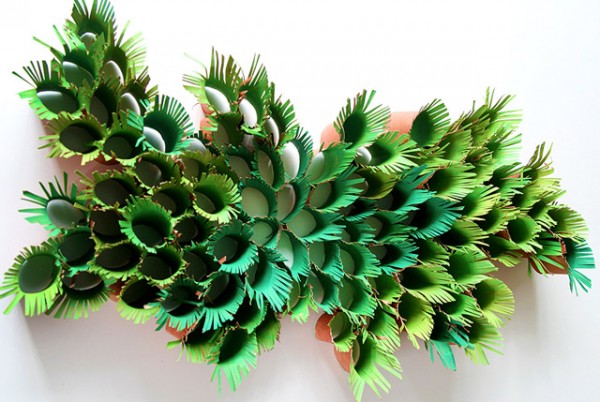
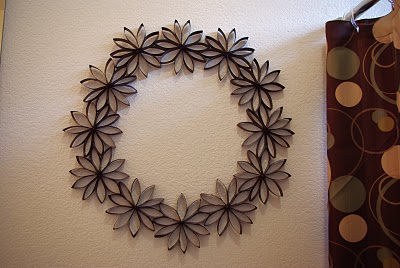
Toilet Paper Roll Wall Art

What You Will Need:
Paper
Rolls (toilet paper rolls or paper towel rolls)
Craft Glue
Scissors
Pack of Laundry Pins
Method:
1. Start
by flattening the paper roll
2. Then cut the paper roll into 5 equal parts
3. Lay them out and start placing them into random positions. You could also do
something more specific like flowers or a patterned design.
4.Once your decision about your position has been decided, attach
the paper roll cut-outs together
5.You should pick up one cut-out and gluing it where it will touch
the one next
6. To make sure the glued area stays together, place a laundry pin on the area where
you glued
7. Do this for the entire design to glue it together
8.Let it Dry for at least 30 minutes
9. You have finished, but if you want to You could also spray paint or paint
them
And that's all. It's really simple! And remember there are so many other creative designs you can have a go at. You can give it a more professional look by painting it with the colours of your chose. You can also try doing an Ombre effect with this aswell. This piece of art looks stunningly beautiful and don't worry, no one will know it's recycled from toilet paper!
Here are some other stunning designs you can try
|
|

|
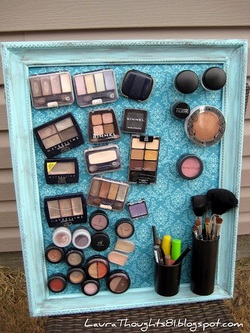
Magnetic Makeup Board
What you'll need:
An old used picture frame
A sheet of metal
Glue
Magnets
Paint (optional)
Old used pencil holders
Makeup
Fabric
Method:
1. Get an old picture frame and remove the glass and backing. After this you may paint the frame.
2. After the frame is ready, get a metal sheet and place it into the frame. Make sure it fits, if not cut it so it does. If you want you can choose the glue some fabric over the top of the metal
3. After the frame is ready, get your makeup ready. Place some glue on it and place a magnet behind it. Do the same with the pencil holders which will contain makeup brushes and eye liner.
4. After everything is ready, place the makeup on the board and enjoy having an organised system.
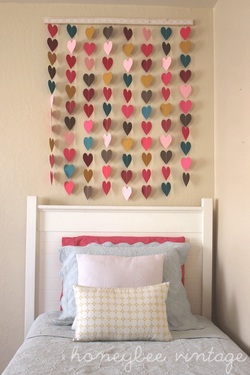
Hanging Hearts
What you'll need:
Coloured paper
Scissors
Heart shape template
String
GlueTape
Strip of decorated wood
Method:
1. Make hearts by using the heart template on coloured paper
2. After you have about 50 or so hearts, stop cutting. Get a long string out about 1 metre long and place hearts under it. You have to double on hearts on the strings so it has the string in between.
3. After you have set up glue all the hearts together with string in the middle.
4. After you have about 5 or so string place them all on the piece of wood. Tape the strings onto the wood.
5. After the hearts are done, hang them up somewhere in your room.
Decorative Chalk Board
What you will need:
1 chalk board
Old frame
Paint
Glue
Method:
1. Get an old picture frame and remove the glass and backing. After this you can paint the frame.
2. After the frame has dried, place the chalk board in. It may not fit so may need to cut. Too much sure it fits place a little glue on the edges so the chalk board stays in place.
3. After the glue has dried, the board is ready to be used.
